
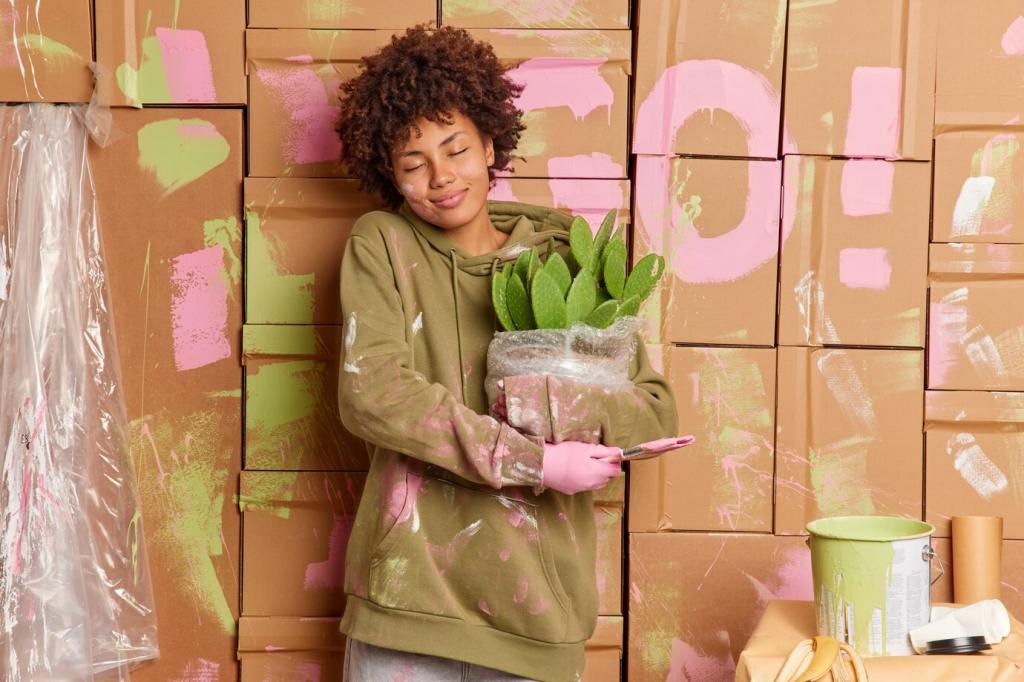
Transforming old or discarded furniture into fresh, functional, and beautiful pieces is one of the most satisfying creative pursuits you can embark on at home. DIY upcycled furniture projects allow you to breathe new life into forgotten items while minimizing waste and expressing your unique style. Whether you’re revamping a thrift store find or rescuing something from the curb, upcycling empowers you to make the most of what you already have. This guide explores inspiring ideas, step-by-step guidance, and helpful tips to help you master the art of furniture upcycling in your own home.
Choosing the Right Piece for Upcycling
Before committing to any upcycling project, take time to closely inspect the potential piece of furniture. Look for signs of stability such as firm joints, a solid frame, and even surfaces. Avoid pieces with extensive water damage, severe wood rot, or warped areas, as these can be challenging and costly to repair. Remember, minor scratches and dings are often easy to fix or can even add character to your finished piece. A structurally sound base will ensure your project stands the test of time and daily use, leaving you with a beautiful, functional addition to your space.
Preparing Your Furniture for a Makeover

Cleaning and Stripping Surfaces
Start any project by thoroughly cleaning your piece. Use a mild detergent and warm water to remove dirt, grime, and old residues. For furniture with sticky spots or heavy buildup, consider a stronger cleaner or a mixture of vinegar and water. Next, assess whether you need to strip old paint or varnish. Use sandpaper or a chemical stripper for stubborn finishes, making sure to work in a well-ventilated area and wear protective gear. Attention to cleaning and stripping will help your new finishes adhere properly and look their best over time.
Making Necessary Repairs
After cleaning, inspect the furniture for any damages in need of repair. Tighten loose screws, reinforce wobbly legs, and patch up minor chips with wood filler or putty. If there are missing parts, such as knobs or drawers, consider replacing them with salvaged or new components that complement your design vision. Addressing repairs at the outset ensures your finished piece will look great and function reliably, turning a neglected item into a sturdy treasure that can withstand daily use.
Priming for Paint and Finish
A properly primed surface is the key to achieving vibrant, even color and a long-lasting finish. Once repairs are complete, lightly sand the piece to roughen surfaces for better paint adhesion. Remove all sanding dust before applying a suitable primer, especially if you’re working with glossy or dark woods. Allow the primer to dry fully before moving on to painting or staining. Taking the time to prime ensures your efforts will not chip, peel, or fade prematurely and that your project maintains its beauty for years.
Color and Finish: Transforming the Look
Painting is perhaps the most popular way to upcycle old furniture. Experiment with bold colors for statement pieces, or opt for softer hues for a serene, classic look. Chalk paint, with its matte finish and easy application, has become a favorite among upcyclers, while milk paint can deliver a charming vintage patina. Consider techniques such as distressing for a shabby chic feel, or stenciling for a touch of artistry. Always apply multiple thin coats rather than a single thick layer for a smoother result. With the right paint and approach, you’ll achieve the style you envision.

Creative Uses for Old Furniture
A worn-out cabinet can easily be converted into a functional and stylish storage bench. Start by removing the cabinet doors and reinforcing the structure if needed. Add a sturdy wooden top and a foam cushion wrapped in fabric, and you’ve created a comfortable seating area that doubles as a place to stash shoes, books, or toys. This approach not only saves money on buying new furniture but also customizes the bench to your exact needs and space constraints. Your finished bench will blend utility with individuality, making it a standout piece.
Previous slide
Next slide


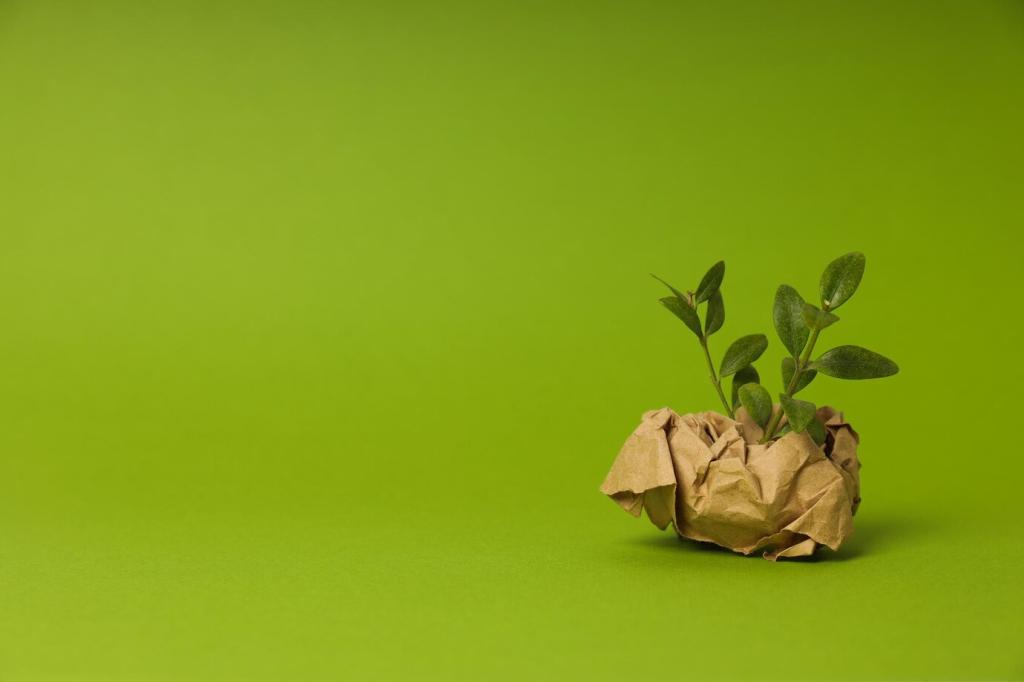
Reducing Waste and Landfill Impact
Every year, millions of tons of furniture end up in landfills, adding to our global waste crisis. By taking on DIY upcycled furniture projects, you actively contribute to waste reduction, preventing serviceable items from being discarded. Each piece you save from the trash lessens the strain on overcrowded landfills, setting a powerful example for friends and family. Upcycling also encourages others to consider alternatives to disposal, creating a ripple effect that supports a cleaner, less wasteful world.

Conserving Resources and Energy
Upcycled projects conserve the energy and raw materials required to manufacture new furniture. Producing new items involves harvesting wood, mining metals, and complex transportation processes—all of which consume significant resources. By restoring and reinventing what’s already made, you help reduce demand for new manufacturing and the environmental damage it can bring. This sustainable approach celebrates resourcefulness and makes a tangible difference in protecting forests, reducing emissions, and conserving our planet’s finite materials.
Promoting a Circular Economy
Upcycling is a core principle in the circular economy, in which products and materials are designed to remain in use for as long as possible. By revitalizing and repurposing furniture, you’re keeping useful resources in circulation rather than participating in the linear “take-make-dispose” cycle. This mindset fosters creativity and innovation while encouraging responsible consumption. As more people embrace upcycled furniture, it shifts demand toward sustainable solutions and encourages manufacturers to prioritize eco-friendly design.
Overcoming Common DIY Challenges
Dealing with Hidden Flaws
Sometimes, hidden flaws like internal cracks, loose joints, or old stains only become apparent after you’ve begun work. Instead of letting these surprises derail your project, embrace problem-solving. Many issues can be fixed with wood glue, fillers, clamps, or careful patching. If the flaw is purely cosmetic, consider creative solutions like decorative accents, paint techniques, or strategic placement. Remember, each challenge is an opportunity to learn new skills and push your creativity further.